Sunday, June 22, 2014

[libGDX] day 2 – draw stuff

welcome back,
today we want to let our “game” draw something. Therefore we first have to know that libgdx uses OpenGL to render the images and OpenGL needs our textures to have a width and a height f a power of 2 (so that the graphic card can faster process it). As we are approaching christmas time I took a free image of a tree ((openclipart.org) and put it in a 512px * 1024px transparent png file.


To load this image, you have to put it in the assets-folder (that one in the testgame-android project). I created a “graphics”-folder inside it, but you can call it however you want.
Texture tree;
// [...] in der create()-Methode:
tree=new Texture(Gdx.files.internal("graphics/tree.png"));
With Gdx.files.internal() you can read files from the assets and process them. (In this example we generate a texture from it).
When your game quits, you should dispose all your textures:
@Override
public void dispose() {
 tree.dispose();
}
Now we got an object which holds our texture, but we want to draw it. Therefore we need a SpriteBatch. Simply said a SpriteBatch is a mysterious box, that collects our textures, processes them and sends them to the graphics card. We create our SpriteBatch in the create()-method and dispose it in dispose().
To finally draw a texture, we have to write the following code:
batch.begin();
batch.draw(texture,0,0);
batch.end();
Between begin() and end() you can draw all the textures, you want.
As you see a big part of the screen is empty, as our tree is located in the top left part of its image. We only want to draw a part of the texture and therefore there are TextureRegions.
When creating a TextureRegion you pass the texture (in our case “tree”) and the part of the image, which shall be marked by this region (in our case this region starts at 0,0 and has the size 450*730).
TextureRegion christmasTree;
//[...]
christmasTree=new TextureRegion(tree, 0, 0, 450,730);
//[...]
batch.draw(christmasTree,0,0);
But what is the resolution of our screen? Which coordinates do we have to give a ball that we want to be on top of our tree?
By default libgdx uses the resolution your window has initially for the resolution of the visible space.
If you change the resolution of your window, the resolution of the screenspace remains the same and therefore the image gets distorted.
If you want to change the resolution of the visible space, you have to use an OrthographicCamera.
OrthographicCamera camera;
// [...] in create():
camera=new OrthographicCamera();
camera.setToOrtho(false, 800,480); // true, if the y-axis should show downwards
// [...] in render():
batch.setProjectionMatrix(camera.combined); // tells the batch, where to draw
batch.begin();
Or you put in the resize()-method:
camera.setToOrtho(false,width,height);
If you now resize the window, you can see more from the screen as the resolution changes as well.
I’m not quite sure which one is better and how to use it right, but for the beginning I’ll use the first method as it is easier. I’ll use 800×480 as the fixed resolution, because my smartphone has that one.
You can change the standard-size of the window in the desktop/Main-class:
public class Main {
 public static void main(String[] args) {
  LwjglApplicationConfiguration cfg = new LwjglApplicationConfiguration();
  cfg.title = "bitowls adventcalendar game";
  cfg.useGL20 = false;
  cfg.width = 800;
  cfg.height = 480;

  new LwjglApplication(new TestGame(), cfg);
 }
}
The coordinatesystem of our screen starts from the left bottom:

I added a ball (openclipart.org) and resized the tree to fit the height of the screen (atm I use a batch.draw()-Method that accepts as well a width and a hight).
the full code:
public class TestGame implements ApplicationListener {

 TextureRegion christmasTree;
 Texture ball;
 SpriteBatch batch;
 OrthographicCamera camera;

 @Override
 public void create() {
  // load assets
  Texture tree=new Texture(Gdx.files.internal("graphics/tree.png"));
  christmasTree=new TextureRegion(tree, 0, 0, 450,730);
  ball=new Texture(Gdx.files.internal("graphics/ball.png"));

  batch=new SpriteBatch();

  // create viewport
  camera=new OrthographicCamera();
  camera.setToOrtho(false, 800,480);
 }

 @Override
 public void render() {  
  Gdx.gl.glClearColor(1,1,1, 1);
  Gdx.gl.glClear(GL10.GL_COLOR_BUFFER_BIT);

  // render our images
  batch.setProjectionMatrix(camera.combined);
  batch.begin();
  batch.draw(christmasTree,0,0,450/(730.0f/480.0f),480);
  batch.draw(ball,60,170);
  batch.end();
 }

 @Override
 public void resize(int width, int height) {
 }

 @Override
 public void pause() {
 }

 @Override
 public void resume() {
 }

 @Override
 public void dispose() {
  // dispose all the trash :P
  christmasTree.getTexture().dispose();
  ball.dispose();
  batch.dispose();
 }
}
If you are itching to programm something I got some simple tasks for you:
  • bring the tree with the ball to the center of the screen
  • render the ball multiple times on different places of the tree
  • add new textures (candles or other decorations) and put them on the tree
Tomorrow we will deal with user input (touch/mouse, keyboard).
write suggestions, complains, found mistakes or questions in the comments!

[libgdx] day 1 – the basics

Heyho,
it’s December 1st and the “bitowl learns libgdx” – advent calendar starts now :)
I hope, that you have installed Eclipse with the Android-SDK as I told you in the first post. If you did that, we can install libgdx.

Download the latest release-build (atm 0.9.9) at http://libgdx.badlogicgames.com/download.html.
Now you have a zip file, that you save on your hard drive and extract it into a folder called “libgdx” (somewhere where you will find it later).
Open this folder and start the gdx-setup-ui.jar inside it (on windows you can do a double-click, on other systems you may have to use the terminal :P).
Today libgdx has this awesome program, that creates the different projects (desktop, android) for you and links everything so that it works.

Fill everything in the left column (we only want to make a game for android and desktop, so we uncheck “html5″). Then you have to click the folder-symbol in the center column next to “LibGDX” and select the zip-File you downloaded.
If “LibGDX”‘s color switched to green you can generate your project in the fourth column.
This program generated the projects for us and linked all the librarys, but we still have to import it into Eclipse.
Therefore we start Eclipse and go to the menu “File” >> “Import”. In the opening dialog we choose “General” >> “Existing Projects into Workspace”. In the next window we choose the folder which we generated our project in as the “root directory”. Now there should be three projects which are selected and we click on “Finish”.

There are now the different projects. “testgame” ist the main project, which contains all our code for the game”. in “testgame-android” and “testgame-desktop” are only starter-classes, which start our game on the different systems.
Important to us are two directories: in testgame the folder “src”, which contains all our classes and in testgame-android the folder “assets”, which contains all our files (bilder, fonts, sounds) which should be later packed with the game.
Let us take a look on the most important file. The “TestGame” (or however you called it)-class in the testgame-project:
package de.bitowl.libgdxtest;

import com.badlogic.gdx.ApplicationListener;
import com.badlogic.gdx.Gdx;
import com.badlogic.gdx.graphics.GL10;
import com.badlogic.gdx.graphics.OrthographicCamera;
import com.badlogic.gdx.graphics.Texture;
import com.badlogic.gdx.graphics.Texture.TextureFilter;
import com.badlogic.gdx.graphics.g2d.Sprite;
import com.badlogic.gdx.graphics.g2d.SpriteBatch;
import com.badlogic.gdx.graphics.g2d.TextureRegion;

public class TestGame implements ApplicationListener {
 private OrthographicCamera camera;
 private SpriteBatch batch;
 private Texture texture;
 private Sprite sprite;

 @Override
 public void create() {  
  float w = Gdx.graphics.getWidth();
  float h = Gdx.graphics.getHeight();

  camera = new OrthographicCamera(1, h/w);
  batch = new SpriteBatch();

  texture = new Texture(Gdx.files.internal("data/libgdx.png"));
  texture.setFilter(TextureFilter.Linear, TextureFilter.Linear);

  TextureRegion region = new TextureRegion(texture, 0, 0, 512, 275);

  sprite = new Sprite(region);
  sprite.setSize(0.9f, 0.9f * sprite.getHeight() / sprite.getWidth());
  sprite.setOrigin(sprite.getWidth()/2, sprite.getHeight()/2);
  sprite.setPosition(-sprite.getWidth()/2, -sprite.getHeight()/2);
 }

 @Override
 public void dispose() {
  batch.dispose();
  texture.dispose();
 }

 @Override
 public void render() {  
  Gdx.gl.glClearColor(1, 1, 1, 1);
  Gdx.gl.glClear(GL10.GL_COLOR_BUFFER_BIT);

  batch.setProjectionMatrix(camera.combined);
  batch.begin();
  sprite.draw(batch);
  batch.end();
 }

 @Override
 public void resize(int width, int height) {
 }

 @Override
 public void pause() {
 }

 @Override
 public void resume() {
 }
}

At the moment this class makes surce, that a test-image is displayed, but all this code seems way to complicated for us. Hence we just throw away everything we don’t need:
package de.bitowl.libgdxtest;

import com.badlogic.gdx.ApplicationListener;
import com.badlogic.gdx.Gdx;
import com.badlogic.gdx.graphics.GL10;

public class TestGame implements ApplicationListener {

 @Override
 public void create() {  

 }

 @Override
 public void render() {  
  Gdx.gl.glClearColor((float) Math.random(),(float) Math.random(), (float) Math.random(), 1);
  Gdx.gl.glClear(GL10.GL_COLOR_BUFFER_BIT);

 }

 @Override
 public void resize(int width, int height) {
 }

 @Override
 public void pause() {
 }

 @Override
 public void resume() {
 }

 @Override
 public void dispose() {
 }

}
This code seems pretty easy. Let me explain the methods to you.
If our game is started, the method create() on our game-class is called. The method resize() is called, if the screensize has changed (on Desktop, if you are in window-modus or on android if you change the orientation of the device).
On android additionally the methods pause() and resume() are called, if you send the app to background.
dispose() is called, if the game is finished and all the ressources can be destroyed.
And most important in every frame (60 times per second) render() is called.
Gdx.gl.glClearColor((float) Math.random(),(float) Math.random(), (float) Math.random(), 1);
Gdx.gl.glClear(GL10.GL_COLOR_BUFFER_BIT);
These are OpenGL-commands that clean the screen with a color (random, so we see something happening).
We can start our “game” by choosing testgame-desktop in the “Project Explorer” (left column in eclipse) and press “Run” (the green arrow).

Well, it does not look really good, but that shall be enough for today.
Tomorrow we will try to get a real image on the screen.
You can find the full source code at GitHub.
Please write sugestions, complaints, spelling- , grammar- and translationmistactes as well as ideas, what kind of game I shall make here, in the comments.

Tuesday, June 10, 2014

Learn Android Video Full


Just click on the chapter you wish to begin from, and follow the instructions. Good luck!
Table of Contents
Learn the Basics

Hello, World!
Variables and Types
Conditionals
Arrays
Loops
Functions
Objects
Compiling and Running with Arguments

Advanced Topics (Under Construction)
Inheritance
Try and Catch
Abstract Classes
Interfaces
Using Generics
Collections
Wrappers and Autoboxing
Exceptions
Generic Types
IO Streams
 

Learn Java Movies Java Core


Welcome to the LearnJavaOnline.org Interactive Java Tutorial.
Whether you are an experienced programmer or not, this website is intended for everyone who wishes to learn the Java programming language.
Just click on the chapter you wish to begin from, and follow the instructions. Good luck!
Table of Contents
Learn the Basics

Hello, World!
Variables and Types
Conditionals
Arrays
Loops
Functions
Objects
Compiling and Running with Arguments

Advanced Topics (Under Construction)
Inheritance
Try and Catch
Abstract Classes
Interfaces
Using Generics
Collections
Wrappers and Autoboxing
Exceptions
Generic Types
IO Streams


ERB Rap Battles


ERB Season 3.5 Returns May 5th! New battles May 5, May 19, June 2, June 16, June 30, and July 14.
The Epic Rap Battles of History is a video series created by Nice Peter, epicLLOYD, Dave McCary, and Maker Studios.
fans contact email: ERBfanmail(at)gmail.com
business contact email (no battle suggestions please): ERBbusiness(at)gmail.com


Thursday, June 5, 2014

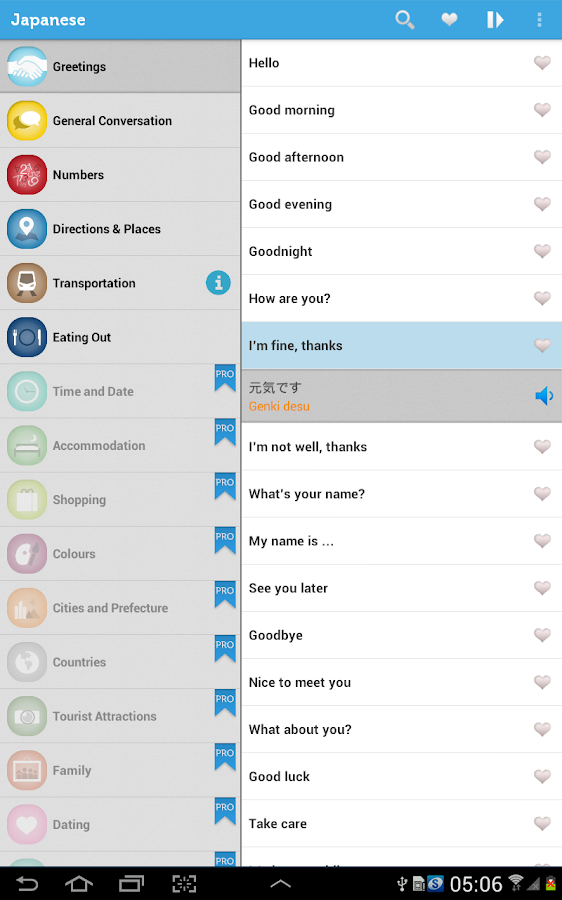
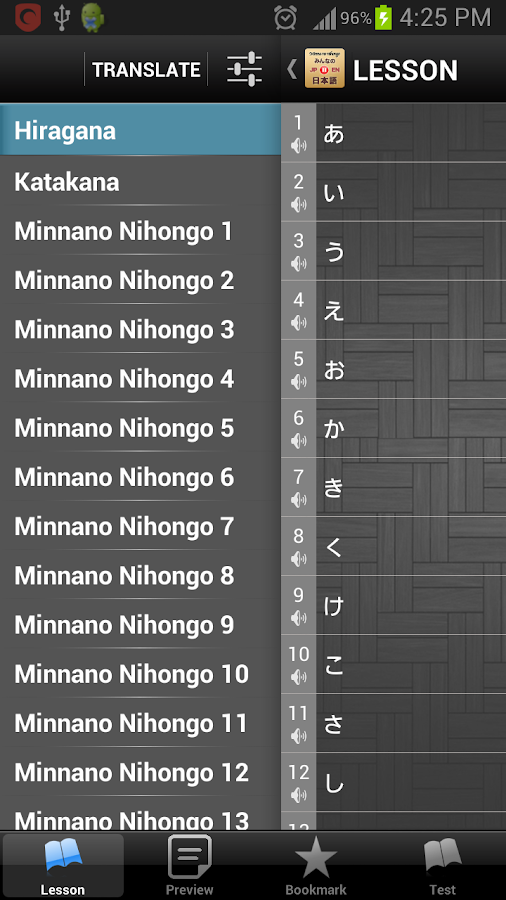
Hoc Tieng Nhat -Ekubo Japanese Basic - Training


Tae Kim's Guide to Learning Japanese now available in Google Play!
IMPORTANT :
The latest update is a bug fix for tablet layout being wrongly used in phone and crashing when navigating. Those who have update to version 0.3.1 and are having the problem, please update. I'm sorry about the inconvenience.

Topics covered include:
- The Japanese Writing System (Hiragana, Katakana, Kanji)
- Basic Japanese Grammar (Particles, Adjective, Verbs, Nouns)
- Essential Japanese Grammar (Polite Forms, Compound, Conditionals, etc.)
- Special Expressions (Causative, Amounts, Honorific, etc.)
- Advanced Topics (Formal Expressions, Volitional, etc.)
This guide was created as a resource for those who want to learn Japanese grammar in a rational, intuitive way that makes sense in Japanese. The explanations are focused on how to make sense of the grammar not from English but from a Japanese point of view.

This guide is an attempt to systematically build up the grammatical structures that make up the Japanese language in a way that makes sense in Japanese. It may not be a practical tool for quickly learning immediately usable phrases such as for travel. However, it will logically create successive building blocks that will result in a solid grammatical foundation. For those of you who have learned Japanese from textbooks, you may see some big differences in how the material is ordered and presented. This is because this guide does not seek to forcibly create artificial ties between English and Japanese by presenting the material in a way that makes sense in English. Instead, examples with translations will show how ideas are expressed in Japanese resulting in simpler explanations that are easier to understand.


Tuesday, June 3, 2014

Popeye Full Series HD

http://bit.ly/PopeyeMoviesFullHD

Popeye Full Series HD 

FREE VIDEO FULL HD  - Android

Free application that lets you enjoy the best episodes, films, videos, cartoons and theme songs of Popeye the Sailor. Kids just love these full Popeye episodes and now you can too.with this free Popeye app!
Your children will enjoy the best videos of Popeye besides learning about the wonders of what spinach can do for you!
The videos inside the app are the English version of Popeye, but there is one section of the app that is great for Spanish language learning because it features the Spanish (Espanol) version and audio so that your child can learn Spanish by watching these hilarious Popeye cartoons in a bilingual way. This is how Einstein would have taught his kids to learn a foreign language. This is the smart way. Your kid will learn a new language in an effortless way by having fun and by learning at the same time!
Watching these episodes first in English and then in Spanish language is making your child Einstein smart! Learning by association:)

Tuesday, December 24, 2013

Full example of using Fragment in Android Development

Fragment in Android is very useful for responsive layout design. In the post, I will give you a full detailed example of using FramentActivity in android application development.

We will produce a demo application which have two different layouts in different device.


Popular Posts